
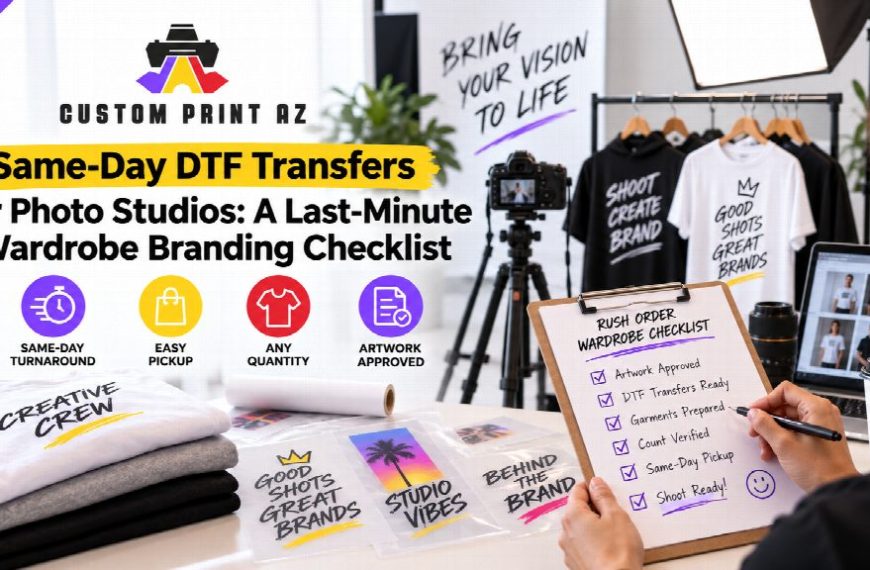
Photo studios sometimes need branded apparel with almost no room for delay. A client adds a new team member, a product shoot moves forward, a reshoot is scheduled, or a wardrobe item arrives without the correct logo. In those situations, the challenge is not simply finding a fast printer. The bigger challenge is getting the wardrobe decision, artwork, garment, transfer, and pickup plan aligned quickly enough that the clothing is actually ready when the camera turns on.
For studios searching for same-day DTF printing near me, a short preparation checklist can prevent a rush request from becoming a chain of last-minute corrections. The goal is to freeze the right details early, keep the wardrobe team and client aligned, and avoid changing variables after production has already started.
Confirm What the Camera Will Actually See
Start with the shot list, not the shirt. A logo placement that works for an employee uniform may not work for a seated interview, a close crop, or a group photo. Ask where the garment will appear in frame and whether the front, back, sleeve, or another area will be visible. If the talent will wear a jacket, apron, overshirt, or layer over the branded garment, confirm which surface is supposed to carry the visible mark.
This does not require redesigning the client’s brand. It requires making sure the approved artwork is assigned to the garment area that matters for the shoot. A rushed production order becomes much easier when the studio can say, “This logo, on this garment, in this visible area,” instead of sending several possible files and hoping the correct version is chosen.
Freeze the Final Artwork Before the Order Moves
Photo shoots often involve many people who can comment on branding: the client, photographer, creative director, stylist, marketing lead, and sometimes an agency. Same-day production is not the right moment to circulate multiple logo versions. Choose one approved file and identify it clearly.
A simple file name can help: client name, campaign, artwork version, and date. If the client has horizontal, stacked, icon-only, or monochrome marks, note which one is approved for this garment. Keep unapproved alternates out of the production folder. The more people who can see the final choice without asking another question, the less chance there is of a late switch.
Count People, Garments, and Backup Pieces Separately
Do not use a single number such as “12 shirts” without explaining what it represents. Separate the people who will appear on camera from backup garments, alternate sizes, and styling options. A studio may have eight people in the shot but still need more than eight garment pieces because wardrobe teams often plan for fit changes, spills, styling adjustments, or talent substitutions.
Create a short count table before the transfer order is placed. List each garment type, size, quantity, and the artwork assigned to it. If two people wear the same size but different roles require different branding, treat them as separate line items. That makes the pressing stage easier to verify later.
Decide Who Owns Pickup and Who Owns Pressing
“Ready today” only helps if someone is responsible for moving the order to the next step. Identify the pickup person before placing the order. Then identify where the garments will be pressed and who will verify that the right transfer goes onto the right item. If the studio, stylist, and apparel decorator are in different locations, write down the handoff sequence.
Studios working in the Phoenix area can use a more detailed same-day DTF transfer ordering and pickup checklist when planning a local rush workflow. The important lesson is broader than one location: production speed is useful only when the handoffs after production are equally clear.
Prepare the Garments Before the Transfers Arrive
A last-minute order should not become a last-minute garment search. Pull the actual wardrobe pieces before the transfers are ready. Check that the planned sizes are present and that the stylist has approved the garments for the shoot. Separate any items that are still waiting for client approval.
Set a Change Cutoff for the Client
Rush jobs become unstable when the client believes every detail can continue changing until the shoot begins. Give the client a clear internal cutoff for changes to artwork, garment count, and placement. This is not about creating an arbitrary rule. It is about protecting the production sequence from a change that forces the team to restart decisions already completed.
Use a Final Wardrobe Check Before the Camera Turns On
Once the garments are finished, the studio should perform a visual and organizational check before the talent dresses. Match each finished piece to the shot list. Confirm that role-specific garments are not mixed. Verify that backup pieces are clearly separated from primary wardrobe. Make sure the stylist knows which items are approved for which person.
- Shot requirement: what part of the garment will be visible?
- Approved artwork: which exact file is cleared for production?
- Garment count: primary pieces, backups, and alternates listed separately.
- Handoff plan: who picks up, who presses, and who verifies?
- Change cutoff: when artwork, placement, and quantities become final.
Speed Works Best When Decisions Are Already Made
Same-day DTF can support a photo studio under pressure, but it cannot replace clear production decisions. The strongest rush workflow starts with the shot, locks one approved artwork version, separates wardrobe counts, assigns pickup and pressing, and gives the client a firm point at which changes stop. When those decisions are made before production begins, the studio can focus on the shoot instead of solving branding questions at the last minute.


