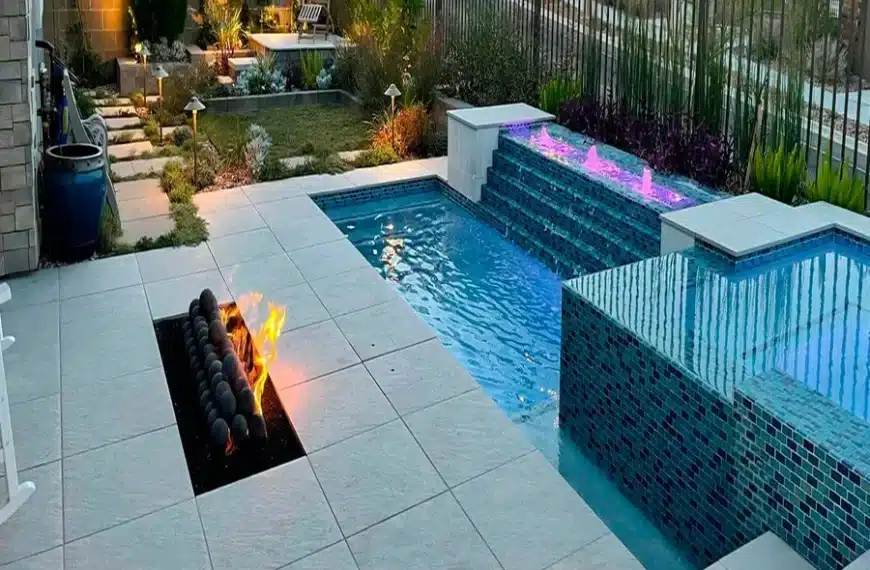
A plunge pool can be the perfect addition to your home, offering a cool retreat during hot summers and a place for relaxation or even exercise. But with professional installation costs often running high, you might consider a more hands-on approach: build your own plunge pool. With the right materials and guidance, you can take on this rewarding DIY project and create a private oasis in your backyard.
Planning Your Plunge Pool
Before any construction begins, careful planning is essential. Measure your available space to determine the size of your plunge pool. Consideration of local zoning laws and building codes is paramount to ensure that your project adheres to safety regulations. Also, plan for additional features such as decking or landscaping at this stage to integrate your pool seamlessly into your outdoor environment.
Choosing Your Plunge Pool Kit
Once you’ve set out your plan, the next step is choosing a suitable kit. A Swimming Pool Kits Direct. DIY kits offer a range of plunge pool options which are designed for easy assembly. These kits contain all the necessary components, from the pool shell to filtration systems, ensuring that all parts are compatible and simplifying the building process.
Preparing the Site
Preparing the site is a critical part of the process. Choose a level area to avoid extensive excavation works. For in-ground plunge pools, you will need to dig a hole to accommodate the pool’s dimensions, including the depth. For above-ground options, clear any debris and ensure the ground is firm and level to support the weight of the pool.
Laying the Foundation
A solid foundation is vital for the stability of your pool. For in-ground plunge pools, you may need to pour a concrete base or install a bed of compacted gravel. Above-ground plunge pools may require a timber or concrete base to sit upon, depending on the specific product instructions provided in your kit.
Assembling the Plunge Pool
The actual assembly of your plunge pool will vary depending on the type of pool you’ve chosen. Most kits come with detailed instructions for each step of the process. It often involves positioning the pool walls, securing them together, and ensuring they are perfectly level before adding any water. For smaller plunge pools, the process is generally straightforward and can be managed by two people over a weekend.
Installing Filtration and Plumbing
No pool is complete without a proper filtration system. Your DIY kit will include pumps and filters that match the size and volume of your pool. Following the manufacturer’s instructions, connect the filtration system, ensuring all fittings are sealed and leak-free. Plumbing should be directed efficiently to facilitate easy maintenance and optimal water quality.
Waterproofing and Finishing Touches
Depending on the type of plunge pool, waterproofing measures such as vinyl liners or sealants may be necessary. Ensure that these are applied smoothly and correctly to avoid future leaks. Once the pool is water-tight, you can focus on the finishing touches like installing edge coping, tiling, or adding any accessories like pool lights or heaters.
Filling Your Plunge Pool
After double-checking all connections and finishing touches, it’s time to fill your pool with water. Use a garden hose, and as it fills, monitor for any leaks or shifts in the structure. Given that it’s your first fill, proceed cautiously and take the time to address any issues immediately.
Landscaping Around Your Plunge Pool
To integrate your new plunge pool into your garden, consider landscaping around it. Choose plants that can withstand the microclimate of a pool area, like humidity and potential splashing. Also, add features such as lighting, outdoor seating, or a pool deck to enhance the comfort and aesthetic appeal of your pool area.
Maintenance for Longevity
Maintaining your plunge pool is crucial for its longevity. Regularly check the pH level of the water, clean the filter, and remove any debris. Investing time in proper maintenance will keep your pool clean, safe, and inviting for years to come.
Enjoying Your DIY Plunge Pool
Once your pool is full and the surrounding area is landscaped, take a step back and admire your handiwork. Building your own plunge pool is a significant achievement and an investment in your property. Now, it’s time to relax and enjoy the tranquil environment you’ve created.
Finding the Right Plunge Pool Kit
Although building a plunge pool may seem daunting, with the right DIY kit and a solid plan, it’s an achievable project. If you’re ready to take the plunge into DIY pool assembly, explore the top above ground swimming pools for an array of options that suit various spaces and tastes. With some hard work and a keen eye for detail, you’ll soon be basking in the luxury of your very own backyard retreat.
Conclusion
Assembling a plunge pool yourself can be a cost-effective way to enhance your home and lifestyle. With a plethora of resources and kits available from trusted suppliers like Swimming Pool Kits Direct, there has never been a better time to build your own plunge pool. Embrace the challenge and revel in the rewards of your own private escape.


