
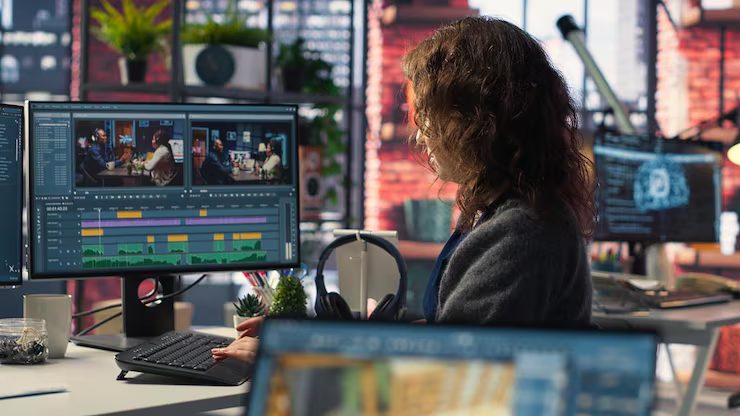
A short video often begins with still photographs: a product detail, a location image, a portrait, or a cover frame. These pictures need to work together before they become part of a moving sequence. A consistent editing workflow helps creators decide what to improve, what to preserve, and when to stop. The goal is a clear visual story that remains believable, rather than a collection of individually dramatic edits.
Start with a visual brief
Before opening an editor, write down where the images will appear and what viewers should notice first. A tutorial may need readable details, while a travel montage may depend on atmosphere and a recognizable sense of place. Identify the intended screen shape, the approximate viewing size, and any text that will sit over the picture. This small brief gives each later decision a purpose.
Choose a modest set of reference photographs from the actual project. Look for a shared direction in brightness, color, framing, and contrast. The reference is a guide for comparison, not a rule that every photograph must look identical. A shaded interior and an outdoor scene can keep their own character while still feeling like parts of the same story.
Preserve a clean starting point
Keep the original files in a separate folder and edit copies. Give each working image a simple name that connects it to its role in the sequence. Separate cover candidates from background images and close detail shots. If several people are reviewing the project, agree on one naming system early. Clear organization makes it easier to revisit a decision without confusing an original with an exported version.
Check what can reasonably be improved before choosing a technique. A slightly dull picture may benefit from a restrained brightness adjustment. A poorly framed picture may need a crop. A photograph with missing detail should not automatically be treated as recoverable. Sometimes selecting a better source image is more useful than spending time trying to rescue a weak one.
Make the basic adjustments first
Begin with orientation and framing. Decide whether the main subject has enough room around it for the intended video layout. Consider how the frame will interact with captions, transitions, and neighboring shots. Keep important details away from edges that may be cropped later. If the same photograph needs both vertical and horizontal versions, prepare those versions deliberately instead of relying on one automatic crop.
Next, compare brightness and color across the selected images. Make small changes and check the result beside the reference photographs. Pay particular attention to neutral objects and natural skin tones when they matter to the story. Strong contrast can be useful, but it should not hide the detail that the image is meant to communicate. Review the sequence as a group after every few edits.
Use AI assistance as a controlled experiment
AI editing can be considered as one part of the workflow, with a specific task and a clear review standard. Creators exploring an AI Photo editor can begin with a non-sensitive test image and compare the result with the original. Check the tool's current controls, terms, and export options directly. A tool should be evaluated against the project's needs before it becomes part of a routine process.
Define the desired change in plain language. Ask what the image needs to communicate and identify the smallest adjustment that could help. Save the first result as a separate version, then inspect it carefully. Edges, reflections, lettering, patterns, and small background details deserve attention. An attractive overall impression is useful, but it does not replace a close look at the parts viewers may rely on.
Decide which kinds of changes are appropriate for the context. A conceptual cover image has different expectations from a photograph documenting a real location or an item offered for sale. Avoid edits that create a misleading impression of the subject. When a creative transformation is central to the work, make that context clear to collaborators and consider whether viewers need an explanation.
Review photographs inside the video
An image that looks balanced on its own may feel too bright or too busy when placed between two other shots. Add the edited photographs to a rough sequence before polishing them further. Watch for sudden shifts in color or exposure, and check whether captions remain readable. Judge the pictures at the size and pace at which the audience will actually see them.
Invite a reviewer to describe what they notice first. This is often more helpful than asking whether an image looks good. If the reviewer focuses on a distracting background instead of the intended subject, reconsider the crop or contrast. Keep feedback tied to the brief so that revisions serve the story rather than becoming an open-ended search for a fashionable appearance.
Export and keep a useful record
Choose export settings appropriate to the destination and inspect the exported files, not only the editor preview. Check dimensions, visible detail, and any text added during the design stage. Place approved images in a delivery folder and keep experimental versions separate. Record the important choices, including the reference set and any transformations that need explanation.
A useful photo editing workflow is repeatable without becoming rigid. It protects originals, begins with simple corrections, tests unfamiliar tools on a small scale, and checks images in their final context. AI assistance may fit within that process, but editorial judgment remains the deciding step. The strongest result is the one that communicates the intended story clearly and consistently.


